Oxygen Equipment in Car Seats: Safe Setup Steps
By Nandita Rao • 19th Feb
Transporting car seat safety for oxygen therapy shouldn't feel overwhelming. Whether you're managing your own oxygen needs during daily errands or helping a family member stay safe while traveling, the right setup (secured, ventilated, and double-checked) turns anxiety into quiet confidence. This guide walks you through proven steps to anchor your portable oxygen concentrator securely in your vehicle, protect it from harm, and build a routine you can repeat every single time you drive.
Why Secure Placement Matters
Your oxygen equipment car seat safety depends on one simple truth: a device that moves is a device at risk. During braking, acceleration, or an unexpected swerve, an unsecured concentrator can slide, tip, or disconnect internal tubing, and suddenly you're left without oxygen mid-journey. Beyond that, movement can block air vents, cause overheating, or damage sensitive electronics. Proper placement isn't fussy; it's the foundation of peace of mind. If you're also transporting a child, use our vehicle-tuned installation guide to make sure their seat is secured correctly before you set up your oxygen equipment.
Secure positioning also prevents distraction. A rolling unit in your peripheral vision, or one that shifts unexpectedly, pulls your focus from the road. A locked-down, upright concentrator becomes invisible, exactly what you want.
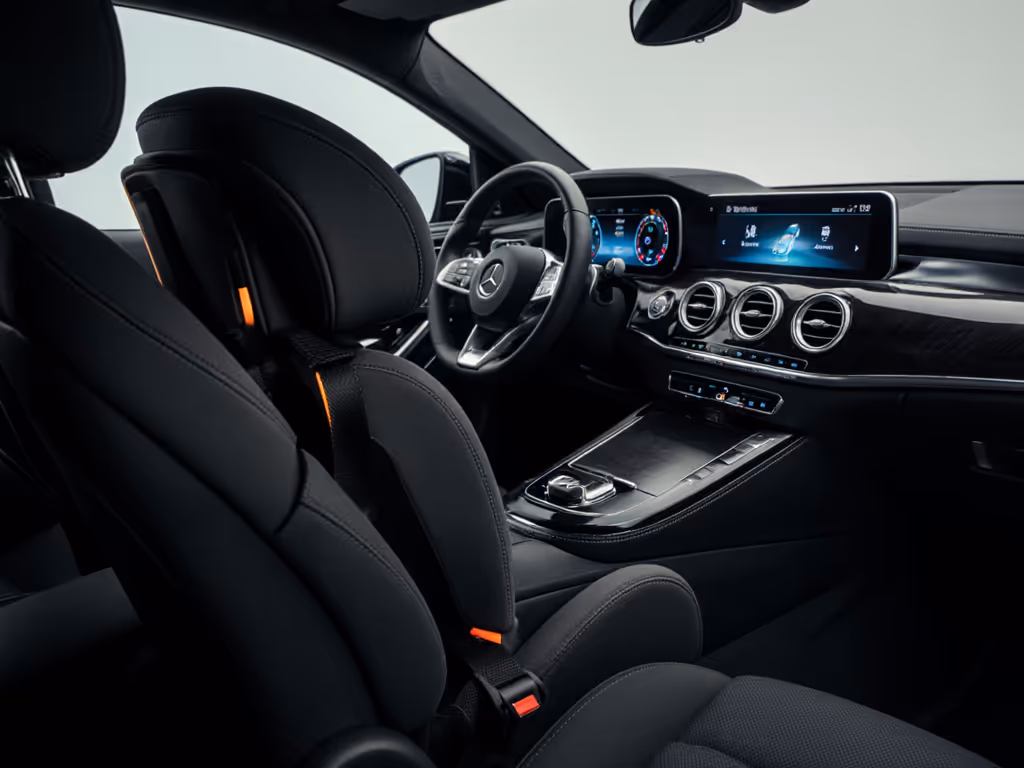
Step 1: Choose Your Placement Location
Position matters as much as security. Your concentrator has two safe homes in the car:
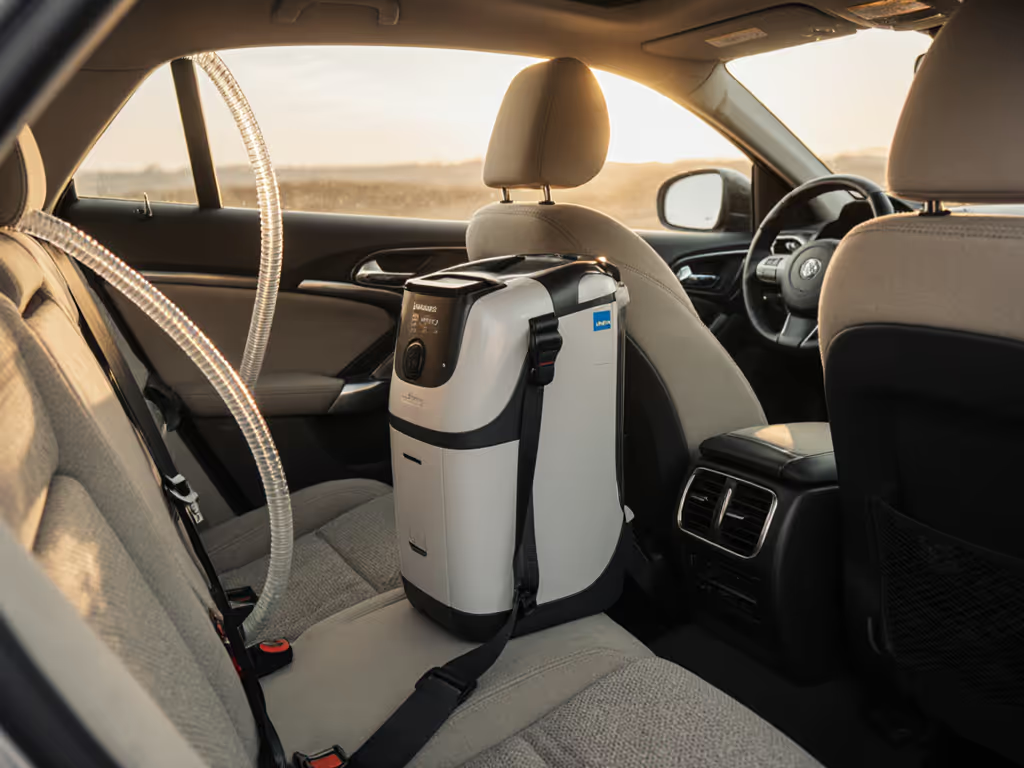
Option A: Passenger-Side Floor Placing the unit on the floor behind or beside the front passenger seat is the preferred choice. This low position limits the risk of sliding during braking or evasive maneuvers. The floor also provides natural stability and keeps the device away from dashboard surfaces where heat can accumulate. If your vehicle's floor space is tight, you can also secure it on the passenger seat itself (as long as it is completely buckled in and will not move or cause distractions while driving).
Option B: Behind the Driver's Seat Smaller, lightweight units like the Inogen One portable concentrator are designed to fit behind the driver's seat, making them accessible yet out of the way. This placement works especially well if you're traveling alone and need quick access to adjust settings or cannula positioning without pulling over.
Avoid These Locations:
- The trunk: Extreme hot or cold temperatures can damage electronics and sieve beds.
- Any spot where blankets, jackets, or other items could rest on top of the unit.
- Anywhere the device sits at an angle or tilted position.
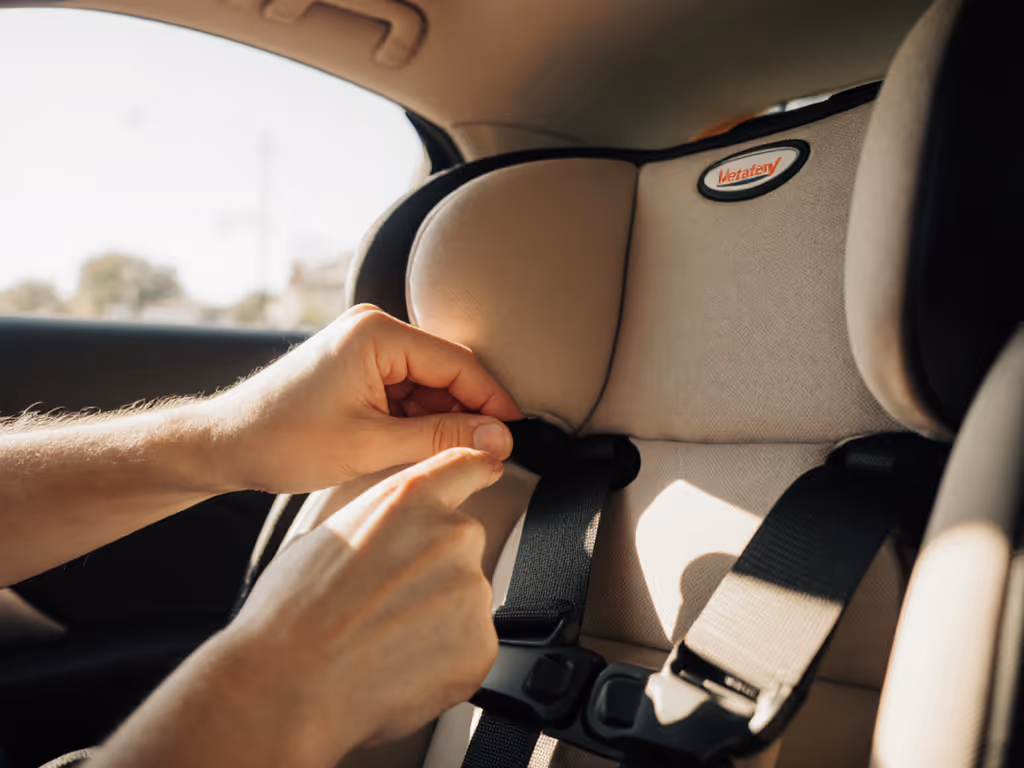
Step 2: Secure Your Unit with Straps or Restraints
Once you've chosen your location, lock it in place. A rolling unit is a failing unit.
Using Rugged Straps Loop sturdy straps through the unit's handle slots and anchor them tightly to the seat tracks or frame. This method prevents side-to-side motion and keeps the concentrator grounded during acceleration, braking, or turns. Test the restraint by pushing on the unit gently from different angles; it should not budge.
Seat Belt Restraint If your unit sits on the passenger seat, buckle it in using the vehicle's seat belt, just as you would secure a passenger. The belt should wrap snugly around the concentrator, holding it upright and stable. Check that the unit remains upright and does not tilt.
Foam Braces High-density foam custom-shaped to fit your specific unit snugly also minimizes jostling. This method is gentler on the device and reduces vibration-related disconnects inside the concentrator.
Choose whichever method your unit's manual recommends and your vehicle's layout supports. Every 2 to 3 hours during long trips, pause to check that straps remain tight and the unit hasn't shifted.
Step 3: Verify Clear Ventilation
Your concentrator is an electronic device, and electronics overheat when air vents are blocked. This step is non-negotiable.
Keep the Unit Uncovered Do not place purses, blankets, jackets, seat cushions, or floor mats anywhere near or on top of your concentrator. Even a draped coat can trap heat and trigger a malfunction when you need oxygen most.
Ensure Air Intake Access The device must sit upright with its air intakes fully exposed to the cabin air. Check your unit's manual for the location of intake vents, typically on the sides or back. Make sure nothing obstructs them.
Maintain Cabin Ventilation Open windows slightly to allow fresh air circulation inside the vehicle, especially during long journeys. This practice helps prevent the cabin from feeling stuffy and supports the concentrator's cooling needs. On cold or noisy days, crack windows just enough for air exchange without discomfort. During hot months, follow this summer heat safety guide to keep the cabin safe for both your child's seat and your concentrator.
Step 4: Power Your Unit During the Journey
Battery life is finite, and battery math on the road requires planning. A portable concentrator typically runs on battery for limited hours depending on the flow setting and model.
Charge Before You Leave Fully charge your portable oxygen concentrator before departing. Most units take 2 to 4 hours for a complete charge. If your trip exceeds the battery's expected runtime, pack an extra rechargeable lithium battery (many can double your available run time).
Bring Your DC Power Adapter Every portable concentrator comes with a DC charging cord as a standard accessory. This cord plugs into your vehicle's 12-volt cigarette lighter or auxiliary DC power outlet. When plugged in, the concentrator will draw power directly from your vehicle's electrical system, preserving battery life and potentially charging the battery simultaneously, depending on your car's power output and your unit's design.
How to Use the DC Power Supply Safely
- Start your vehicle before plugging in the concentrator. Never plug in your POC while the engine is off, as it may drain your car battery.
- Locate the 12-volt outlet (cigarette lighter or auxiliary power port) in your vehicle.
- Insert the DC charging cord firmly into the outlet.
- Allow the system to stabilize for a few seconds before adjusting oxygen flow settings.
- Avoid using other high-power devices (such as heated seats, phone chargers, or GPS units) simultaneously. These devices draw current and can strain your vehicle's alternator, reducing the power available to your concentrator. If your vehicle has seat warmers, see our heated seat compatibility tips to use them safely with car seats.
- Monitor the concentrator's display to confirm it is powered and, if available, charging the battery.
Make a Test Run Before a long trip, take a short drive to confirm whether your concentrator charges while plugged in via DC power, or simply runs off DC current without charging. This knowledge lets you plan pit stops or extra batteries appropriately. Charging via DC may take longer than charging from a standard wall outlet.
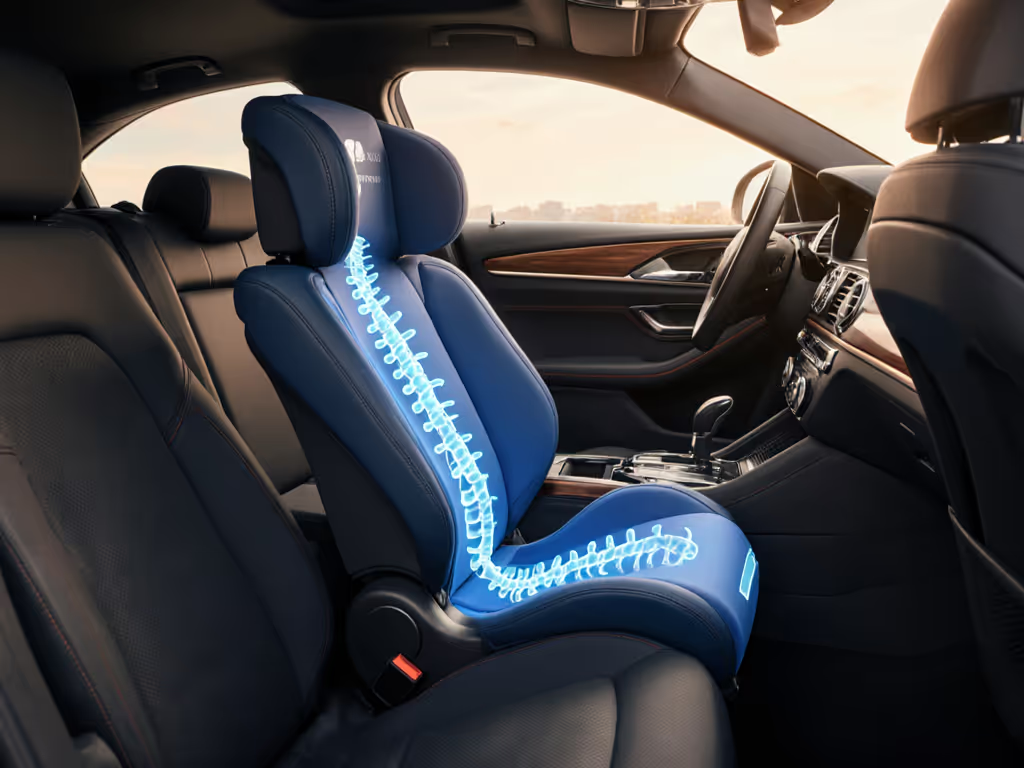
Step 5: Protect Your Tubing from Disconnects
Your nasal cannula and oxygen tubing are lifelines. During driving, they face twisting, pulling, and kinking hazards.
Allow Slack for Movement Provide at least 18 to 24 inches of tubing slack to allow free head rotation and neck flexion without pulling on the cannula connection. This means your line should hang gently, not stretch tight when you turn your head or adjust position in the seat.
Position the Concentrator Higher If Possible If feasible, place the oxygen equipment so the tubing hangs downward from the unit toward you, rather than stretching upward. Gravity assists, and downward-hanging tubing is less likely to kink or pull taut during movement.
Create a Tubing Guide Wrap soft felt around your shoulder or seat edge to create a gentle, curved pathway for tubing when you enter or exit the vehicle. This prevents tubing from snagging, getting caught in the door, or tugging on the cannula connection during transitions.
Periodic Checks Every 1 to 2 hours during a trip, pause to inspect the tubing pathway. Make sure it's not twisted, pinched, or wrapped around the headrest pylon or seat mechanisms. Breathe, then buckle, take a calm moment to reset and reconnect with your setup before continuing.
Step 6: Follow Critical Safety Rules
These boundaries protect you and everyone in the vehicle.
Never Smoke or Use Open Flames Absolutely no smoking inside the vehicle while your portable oxygen concentrator is in use. Oxygen accelerates combustion; smoking while wearing a nasal cannula could cause serious burns (or worse). This rule is non-negotiable and applies even if you think you're only using oxygen intermittently.
If You Must Smoke, Follow Three Steps
- Turn off the concentrator.
- Remove your cannula.
- Leave the vehicle or the room where the concentrator is located.
Wait until you've stepped outside before lighting anything.
Avoid Extreme Temperatures Do not leave your concentrator in a parked car exposed to extreme heat or cold for extended periods. Electronics and sieve beds degrade rapidly in temperature extremes. If you stop for lunch or a rest break, take your unit inside with you or park in shade. For broader weather precautions that also protect child restraints, review our extreme weather car seat safety guide.
Building Your Repeatable Routine
Confidence is built through repetition. Every journey, follow this pre-drive checklist:
- Battery & Power: Concentrator fully charged? DC cord in the car? Extra battery packed?
- Placement: Unit in its designated spot (floor or secured seat position)?
- Straps & Locks: Restraints tight? Unit stable when gently pushed?
- Ventilation: Air vents clear? Nothing on top? Windows slightly open for fresh air?
- Tubing: Slack tubing measured? Pathway clear of snags? Cannula seated properly?
- No Smoke: Interior smoke-free? Smoking plan established if needed?
Run through this list aloud if it helps. You can also keep our car seat safety checklist in your glovebox for quick reference. Write it on a sticky note for your dashboard. After three or four trips, the routine becomes muscle memory, and that muscle memory is where true confidence lives.
That quiet moment of checking, securing, and breathing before you turn the key is what separates anxiety from assurance. Twenty minutes of setup now means hours of peace of mind on the road. You've got this.
Related Articles