Car Seat Harness Fit: The Pinch Test Guide
By Luke Petrovic • 8th Apr
Getting your child's car seat harness adjusted correctly is one of those deceptively simple tasks that most parents get wrong, and the stakes are too high to rely on guesswork. The pinch test is the gold standard for validating whether your child's harness is truly snug enough to protect them in a crash. This guide walks you through what the pinch test is, how to perform it, and the exact adjustments that ensure your seat delivers real safety year after year.
What Is the Pinch Test, and Why Does It Matter?
The pinch test is straightforward: grab the harness strap at your child's collarbone area and try to pinch the material between your thumb and forefinger. If you cannot pinch the harness material together (if it's pulled too taut to compress), the strap is tight enough.[1] If you can pinch slack into the material, the harness has too much give. For a full, step-by-step fit routine that complements the pinch test, see our fit-to-child guide.
This matters because crash testing has shown that even 3 inches of harness slack allows a child's shoulder to slip out during a side-impact crash, allowing the head to extend past the car seat and strike the vehicle door.[1] That's not a small margin. That's the difference between the restraint doing its job and your child sustaining a serious head injury. The pinch test is the most practical, hands-on way to verify you've eliminated that risk.
Harness Height: Does Direction Matter?
Yes, dramatically. The positioning rule reverses depending on which way your child faces.
For rear-facing seats: The shoulder strap height position should be at or below your child's shoulders.[1][3] This positioning works because in a forward collision (the most common crash type), a rear-facing child's back is pressed firmly against the seat. If the straps are threaded too high, they can't do their job properly; the child can shift around inside the seat.[2] Always check your seat's instruction manual, because many seats have specific slot designations: lower slots for rear-facing, upper slots for forward-facing only.[2]
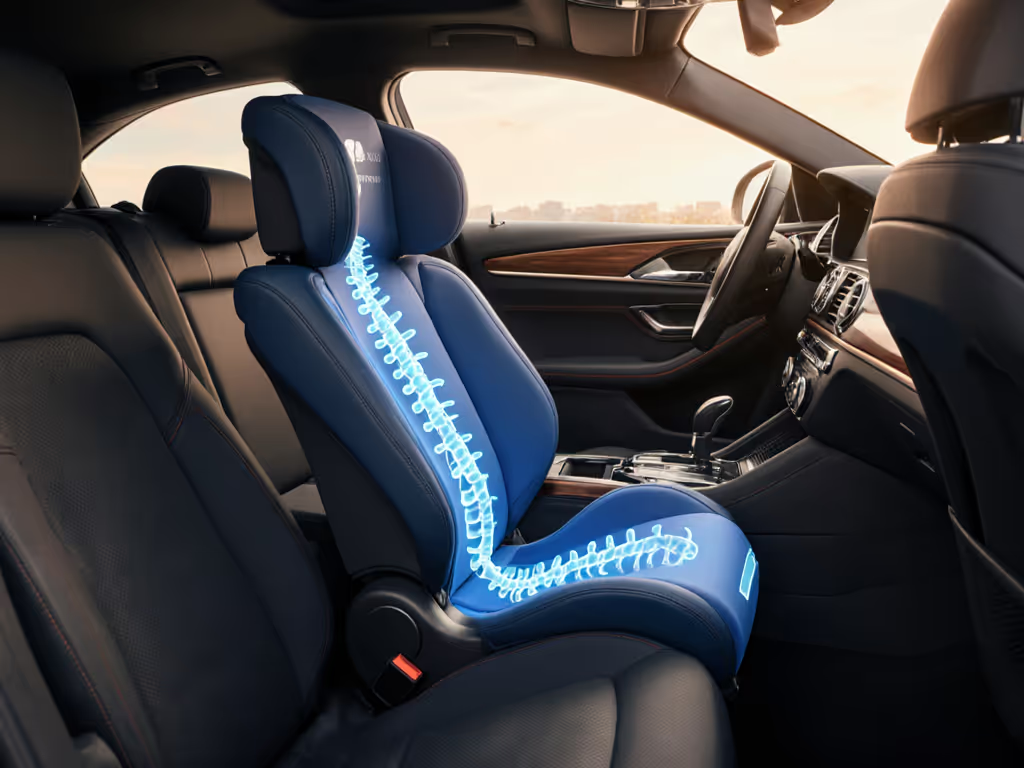
For forward-facing seats: The shoulder straps must be at or above the child's shoulders.[1][3] In a frontal collision, forward-facing children experience forces that throw them forward. Straps positioned above the shoulders anchor the child's body and limit the distance traveled during impact, reducing strain on the spine and shoulders.[1] Think of how your own seat belt anchors above your shoulder (it's the same physics).
The key detail many parents miss: make sure both straps exit the seat at the same level and neither strap is twisted.[1] A twisted strap concentrates crash force on a smaller area of the body, increasing injury risk.[1] To understand why keeping kids rear-facing longer improves protection and correct harness height, read Maximize rear-facing time.
How Tight Should the Harness Actually Be?
Many parents err on the side of comfort over security. That's a mistake. The harness should be snug enough that it lies in a relatively straight line without sagging.[3] "Snug" does not mean pressing the child's flesh or distorting their body into an unnatural position, but it does mean zero slack.[3]
After you've tightened the straps, perform the pinch test.[1] If you cannot pinch the material, you're good. If you can pinch it, keep tightening. A practical tip: first remove slack at the hips by pushing down on the crotch buckle while pulling up on the torso straps, then validate the overall tightness.[8]
The pinch test is your validation that the harness is truly snug enough to keep your child secure in a crash.
Many parents find it easier to loosen the straps for daily buckling and unbuckling, and then they forget to re-tighten.[1] That's a setup for failure. If you're doing this regularly, you're introducing risk every single time. Some seats offer a faster harness-tightening mechanism that reduces friction; if you use your seat long enough (across multiple children or years of daily use), investigating seats with smoother adjustment can lower your maintenance time substantially. That's a durability metric worth tracking.
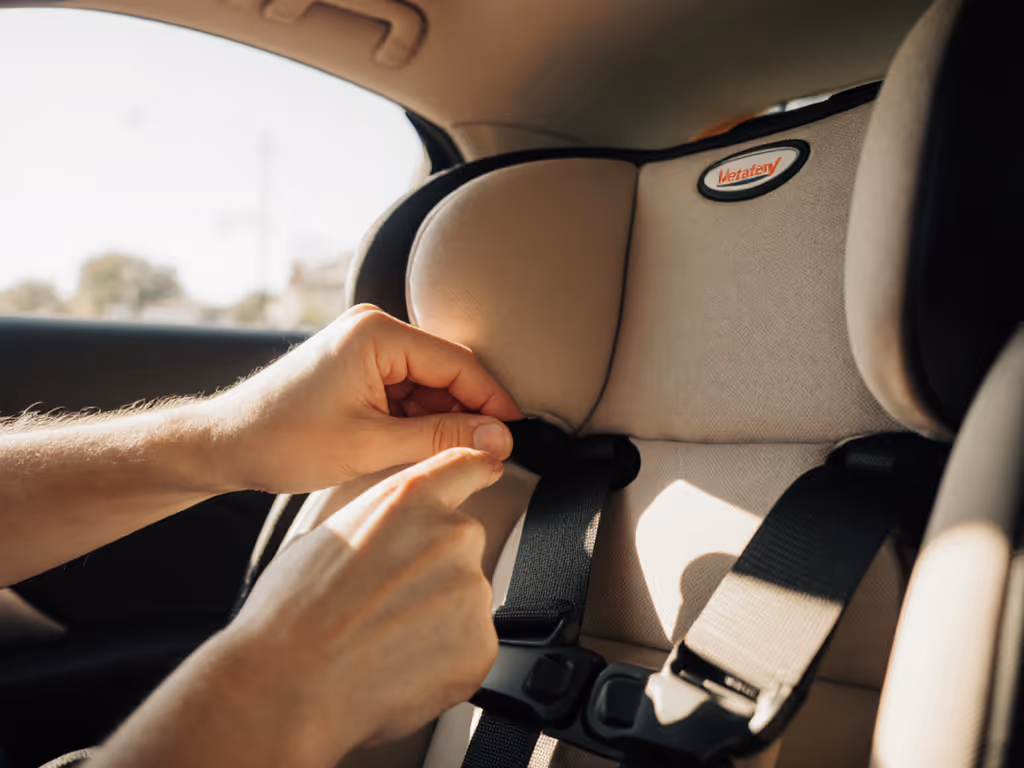
Where Should the Chest Clip Go?
The chest clip placement guidelines are simple but often missed: the clip should sit at armpit level.[1][3] Not higher (where it can ride up into the child's throat during a crash), and not lower (where it loses its structural role).[1]
One practical note: tighten the harness straps fully before sliding the clip up to position.[1] If you position the clip first and then tighten, you'll inadvertently pull it down toward the child's stomach, defeating its purpose.
How to Adjust the Harness as Your Child Grows
The harness adjustment techniques you use month-to-month matter because consistency prevents missed adjustments. As your child grows, their shoulders will migrate relative to the strap slots. The window for proper harness height narrows with each growth spurt (typically you have only a few inches of shoulder growth before the straps are positioned incorrectly).[2]
Many parents underestimate how often a growing child outgrows the harness height position. Build a simple check into your routine: measure your child's shoulder position against the harness slots every 2-3 months if they're a rapid grower, or quarterly otherwise. If frequent rethreading is a pain, consider no-rethread harness seats that adjust height quickly as your child grows. This is where reviewing your seat's manual regularly saves you from accidentally using an incorrectly threaded harness for weeks.
The lower harness straps (hip/thigh area) typically don't adjust on most seats, and some seats offer no adjustment on the crotch strap position.[1] This is a silent durability factor: if your child's torso length is slightly longer or shorter than the designer assumed, you might face premature outgrowth even though weight limits haven't been reached. When evaluating seats for long-term use, check whether the seat offers crotch strap adjustment slots, as it directly affects how many months (or years) the seat remains truly usable.
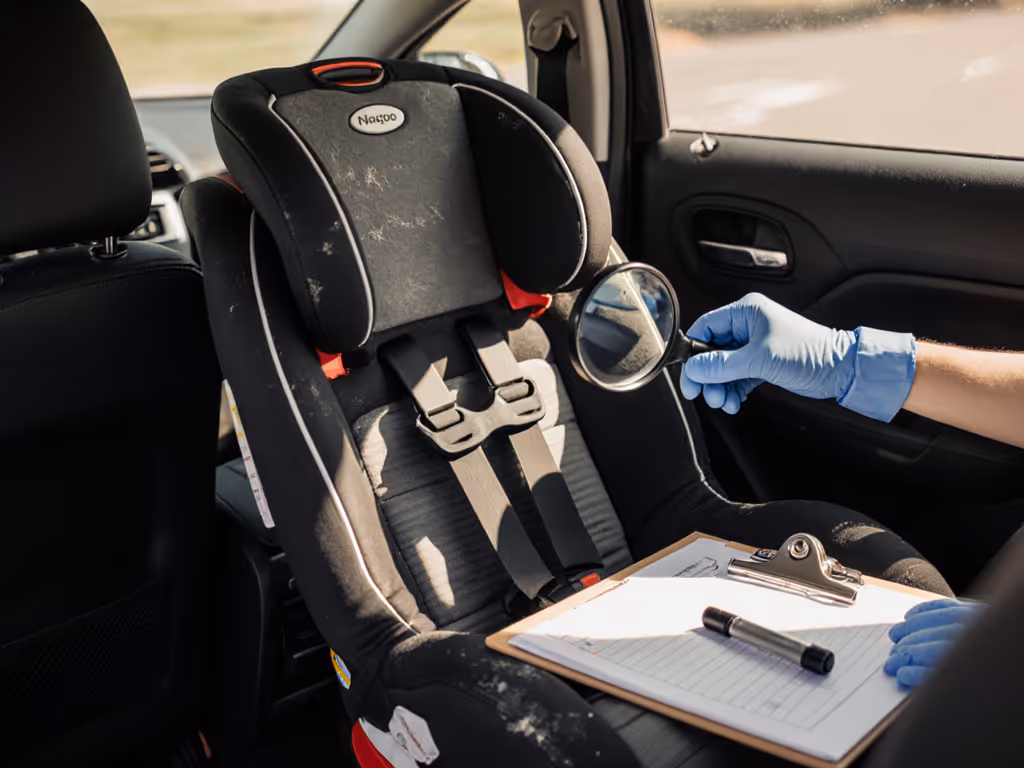
Measuring Harness Tension: The Real-World Standard
There's no measurement tool you can buy; the pinch test is your tool. It's repeatable, requires nothing but your fingers, and it works.[1] No guessing, no apps, no premium features, just tactile feedback.
A few years back, I watched a family wrestle with the question: should they buy a premium convertible seat with fancy adjust-as-you-grow straps, or trust a simpler model? They chose the simpler one. Five years later (after two children, multiple vehicle transfers, dozens of wash cycles on the cover, and countless daily adjustments), that seat still clicked solidly, the harness adjusted smoothly, and the strap routing never confused them. Their cost-per-year math was unambiguous. Value shows up in years used, not marketing claims about premium mechanisms.
When you're evaluating seats, ask whether spare harness straps are readily available. Ask whether the manual is clear enough to understand strap routing on your first read. Ask whether the strap adjustment system feels intuitive to use when you're tired or in a hurry. These are the features that compound over years of use. If easy, repeatable installs are a priority, start with our picks for seats that are easier to install correctly.
Final Checklist: Before Every Drive
- Shoulder strap height: At or below shoulders (rear-facing); at or above shoulders (forward-facing).[3]
- Pinch test: Unable to pinch slack into the strap.[1]
- Strap twists: Both straps exit the seat at the same level, no twists.[1]
- Chest clip: At armpit level, not riding up toward the throat.[1]
- Crotch strap: In the correct slot for your child's current size.[1]
These five points take less than 30 seconds to verify. For a broader pre-drive review, grab our car seat safety checklist. That small investment in attention directly reduces your crash risk by orders of magnitude. The difference between a tight harness and a loose one is the difference between a properly functioning restraint and one that's merely decorative. Make the pinch test your habit (every time you buckle your child in), and you've invested in years of peace of mind.
Related Articles