How to Install Convertible Car Seat for Maximum Safety
By Nandita Rao • 22nd Oct
How to Install Convertible Car Seat for Safe Travel
Did you know that more than half of car seats are not installed correctly, even though parents want to keep their children safe? The right setup can mean the difference between effective protection and hidden risks every time you get on the road. Knowing exactly how to position, secure, and double-check your convertible car seat gives your child the best chance at safety while traveling.
Quick Summary
| Key Point | Explanation |
|---|---|
| 1. Gather vehicle and seat information | Review your vehicle's manual and car seat instructions for safe installation details and compatibility. |
| 2. Position car seat at correct angle | Ensure rear-facing seats are angled 30-45 degrees to support the child's head and neck properly. |
| 3. Secure car seat tightly | Use the seat belt or LATCH system, ensuring minimal movement of less than one inch in any direction. |
| 4. Adjust harness snugly | Check that harness straps are tight enough to prevent slack; the chest clip must be at armpit level. |
| 5. Perform safety checks regularly | After installation, conduct wiggle tests and consider professional verification to ensure ongoing safety. |
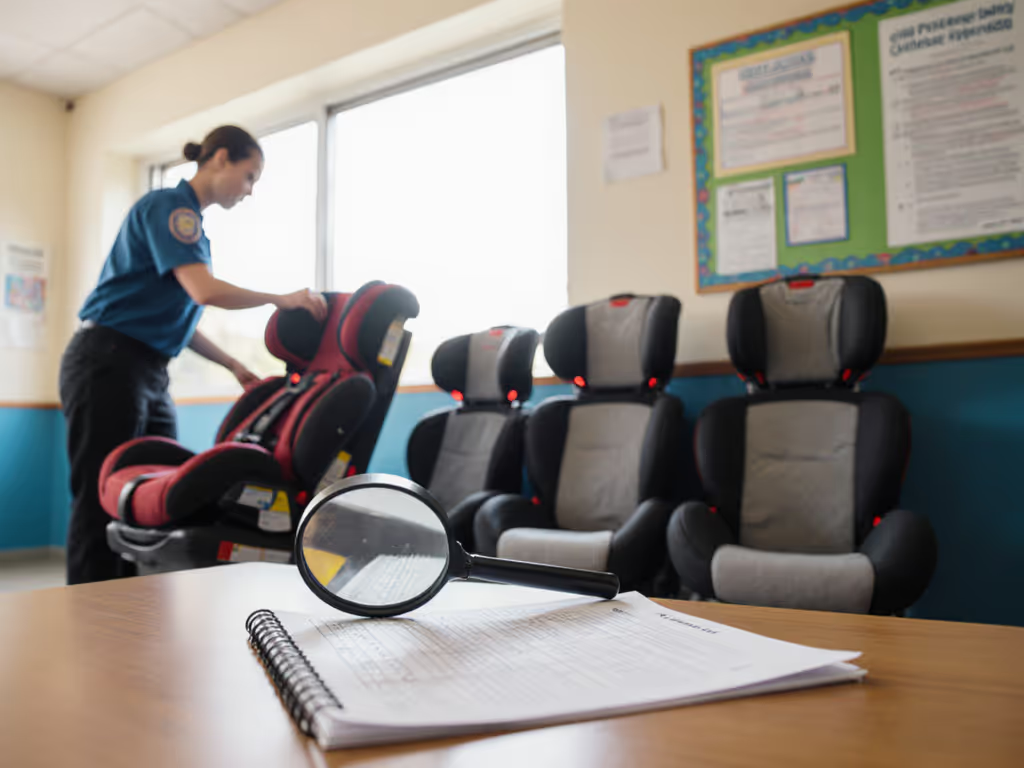
Step 1: Prepare your vehicle and gather necessary seat details
Before you start installing your convertible car seat, you will need to prepare your vehicle and collect crucial information about your specific seat and car setup. This preliminary step ensures a safe and secure installation that protects your most precious cargo.
First, locate your vehicle's owner manual and the car seat manufacturer's instruction guide. These documents are your roadmap to understanding the specific installation requirements for your specific vehicle and car seat model. Look for designated seating positions that are approved for car seat installation and identify whether your vehicle uses a seat belt system or the LATCH (Lower Anchors and Tethers for Children) system.
Carefully inspect your vehicle's seat belts and potential anchor points. Check for any signs of wear damage or malfunction that could compromise the car seat's stability. If you notice fraying seat belts or damaged anchor points contact a certified child passenger safety technician for professional guidance.
Next turn your attention to the car seat itself. Familiarize yourself with its specific features including harness adjustment mechanisms recline settings and weight guidelines. Understanding these details will help you position the seat correctly and ensure your child's maximum safety and comfort.
Pro Tip: When in doubt about installation always consult a certified child passenger safety technician who can provide personalized guidance for your specific vehicle and car seat combination.
Once you have gathered all necessary information and confirmed your vehicle's compatibility you will be ready to move forward with the actual car seat installation process. The groundwork you have just completed is critical in creating a secure transportation environment for your child.
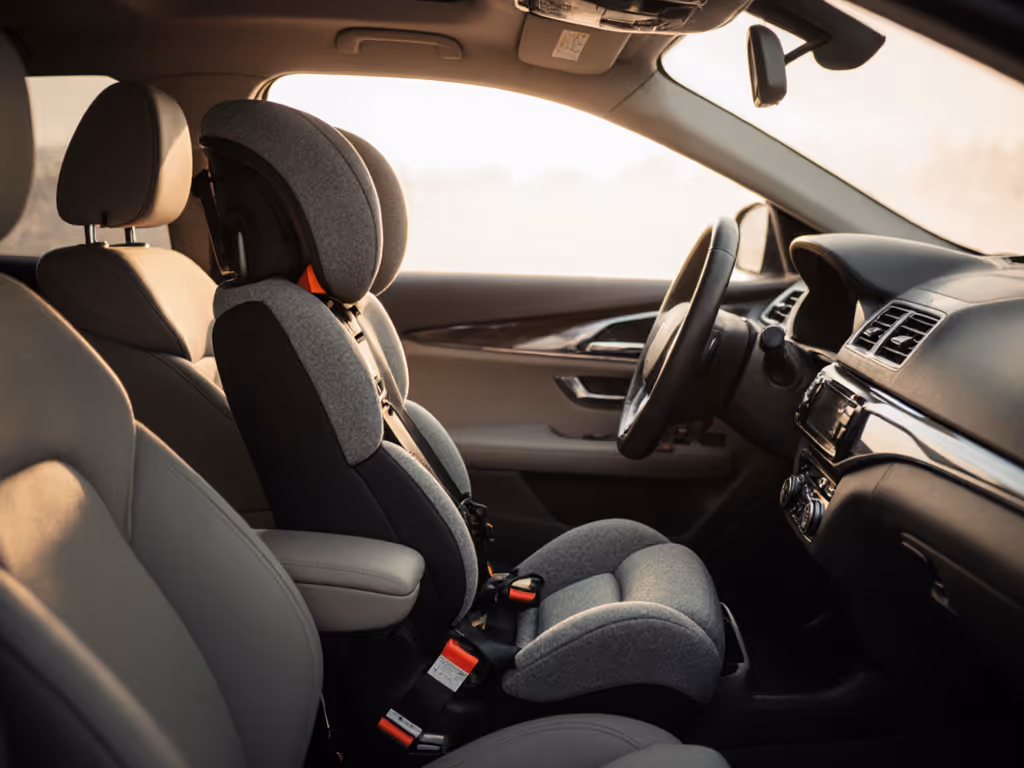
Step 2: Position the convertible car seat correctly for your child
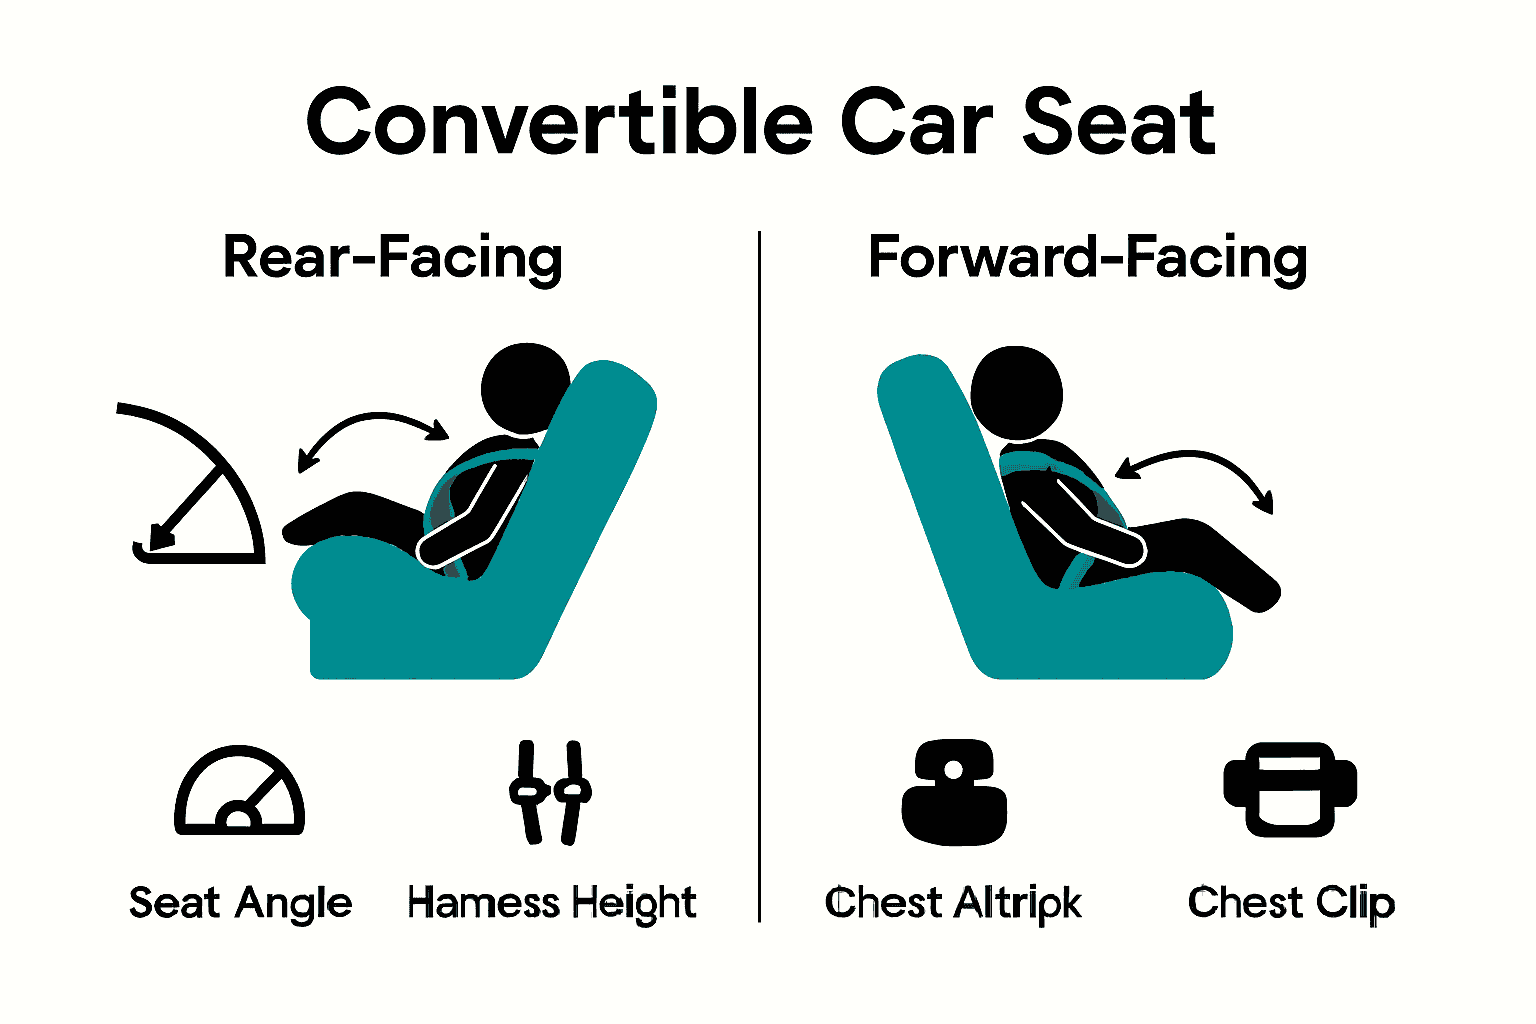
Positioning your convertible car seat is a critical step in ensuring your child's safety during travel. The correct placement depends on whether you are installing a rear-facing or forward-facing seat and requires careful attention to specific guidelines.
For rear-facing installations the most important consideration is the seat angle. You want to position the car seat between 30 to 45 degrees to provide optimal support for your child's head and neck. This specific angle helps prevent their head from falling forward and maintains an open airway. Most convertible car seats have built-in angle indicators or adjustable bases to help you achieve the perfect positioning.
When setting up the harness system focus on precise placement. For rear-facing seats the harness straps must be positioned at or below your child's shoulders. This configuration ensures that in the event of a sudden stop your child remains securely contained within the protective shell of the car seat. Place the chest clip at armpit level to keep the harness straps properly aligned and prevent them from sliding off the shoulders.
If you are installing a forward-facing seat the guidelines change slightly. Now you want the harness straps to be at or above your child's shoulders. This positioning provides maximum protection during forward motion and potential impact scenarios. Again make sure the chest clip sits directly at armpit level for optimal safety.
Pro Tip: Always perform a pinch test on the harness straps. If you can pinch any slack between your fingers the straps are too loose and need readjustment.
Careful positioning of your convertible car seat might take a few attempts to get right. Do not get discouraged. Each small adjustment brings you closer to creating the safest possible travel environment for your child. The next step will involve securing the seat using either the vehicle's seat belt system or the LATCH anchors.
Here's a comparison of rear-facing and forward-facing installation guidelines:
| Aspect | Rear-Facing Installation | Forward-Facing Installation |
|---|---|---|
| Seat Angle | 30-45 degrees | Upright, as instructed |
| Harness Strap Height | At or below child’s shoulders | At or above child’s shoulders |
| Chest Clip Placement | Armpit level | Armpit level |
| Primary Safety Focus | Head/neck support | Forward motion protection |
| Adjustment Tools | Angle indicator<br>Adjustable base | Harness slot adjustment |
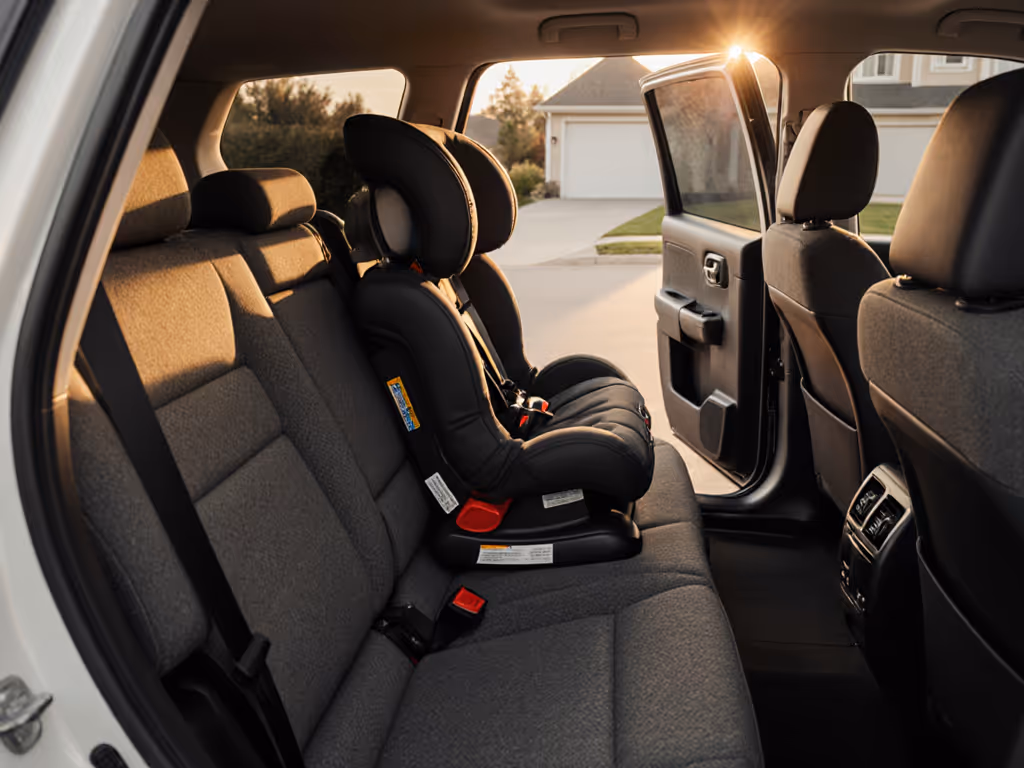
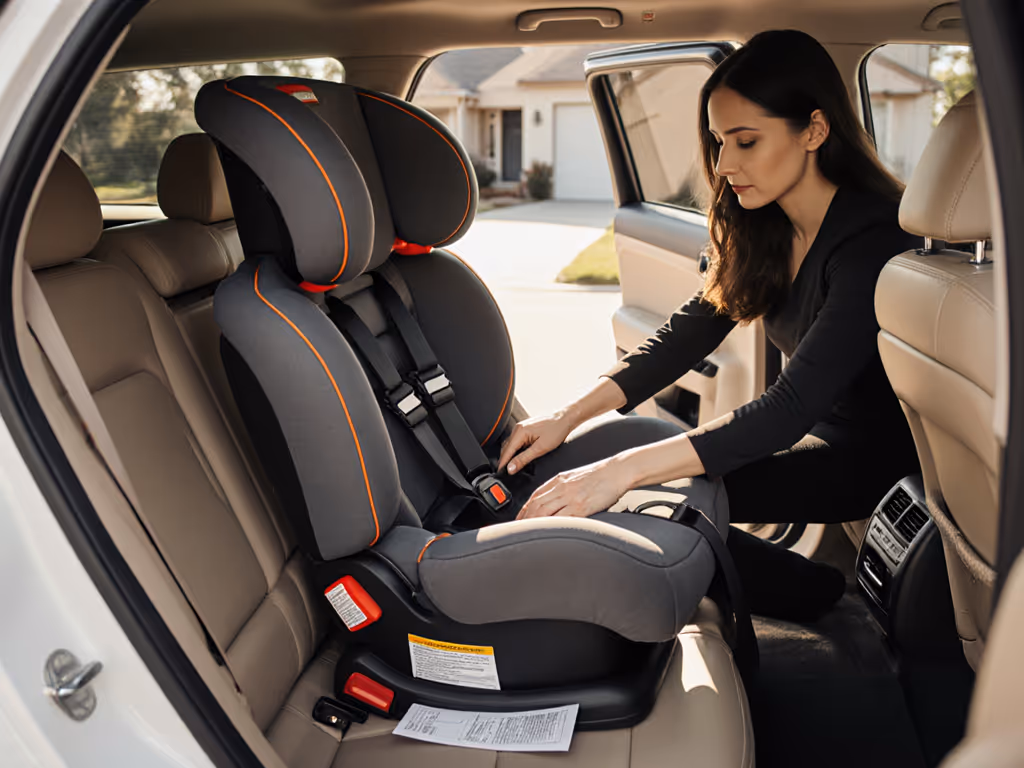
Step 3: Secure the seat using the seat belt or LATCH system
Securing your convertible car seat is the critical moment that transforms all your previous preparation into actual child safety. You have two primary methods to accomplish this task the traditional seat belt system or the modern LATCH anchoring method.
If you are using the seat belt installation method carefully thread the seat belt through the designated belt path on your car seat. Ensure the belt is not twisted and passes smoothly through the routing guides. Pull the seat belt tight applying firm and consistent pressure. Your goal is to create a rock solid installation with less than one inch of movement side to side or front to back at the belt path.
For those choosing the LATCH system locate the lower anchor points in your vehicle typically marked with a small universal anchor symbol. Connect the car seat's LATCH connectors to these anchor points making certain they click securely into place. Just like with the seat belt method you want minimal movement less than one inch in any direction. This ensures your car seat stays precisely where it should during travel.
Regardless of which installation method you select the key is achieving a tight fit. After initially securing the seat use your body weight to press down firmly while simultaneously pulling the seat belt or LATCH strap to eliminate any potential slack. A properly installed car seat should not move more than an inch when you wiggle it at the belt path.
Pro Tip: After installation perform the wiggle test. Grab the car seat at the belt path and try to move it. If it shifts more than one inch in any direction you need to readjust and tighten the installation.
Taking the time to secure your car seat correctly might feel tedious but these moments of careful installation could potentially save your child's life. The next step will involve performing final checks to confirm your installation meets the highest safety standards.
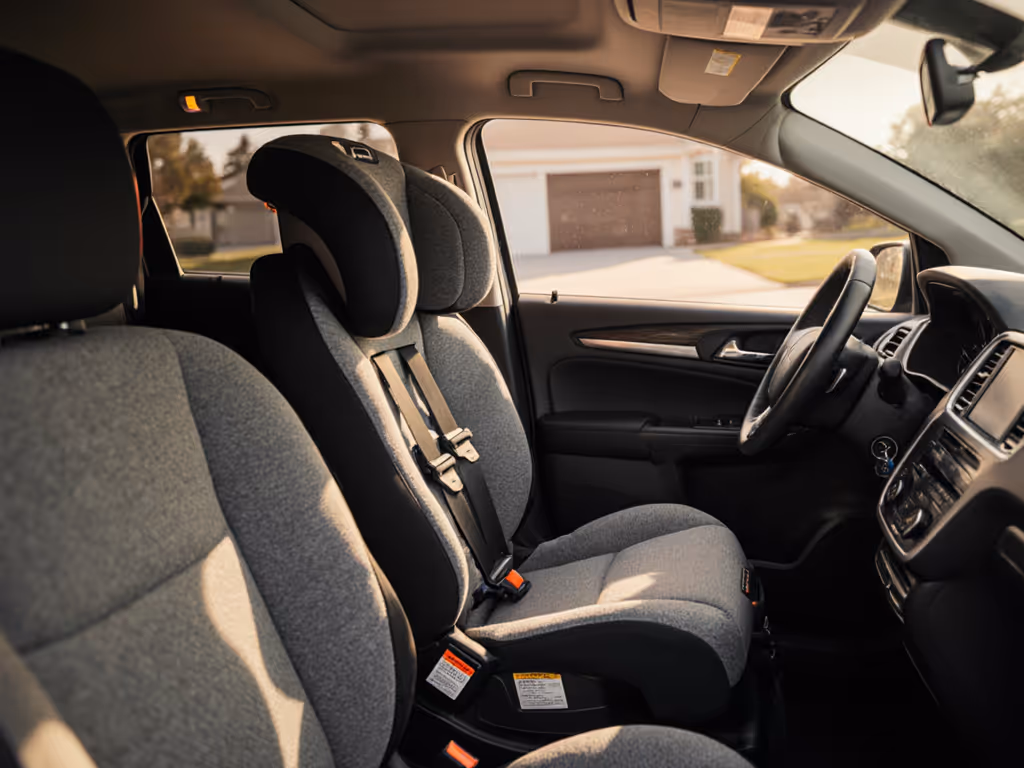
Step 4: Tighten and adjust all harnesses and anchors
With the car seat positioned and initially secured your next critical task is fine-tuning the harness system to create a protective cocoon for your child. Proper harness adjustment is the difference between a good and a great car seat installation.
Start by checking the harness straps. They should be snug against your child's body with absolutely no slack. A good test is attempting to pinch the harness fabric at the shoulder. If you can create a fold in the material the straps are too loose. You want the harness to be tight enough that it moves with your child's body but not so tight that it causes discomfort.
Pay special attention to the chest clip placement. This small but crucial component should sit directly at armpit level. Not lower. Not higher. Armpit level ensures the harness straps remain correctly positioned across your child's shoulders and chest. An improperly placed chest clip can significantly reduce the harness's effectiveness during a sudden stop or collision.
For rear-facing seats ensure the harness straps are positioned at or below your child's shoulders. For forward-facing seats the straps should be at or above shoulder level. These precise positioning guidelines help distribute potential impact forces across the strongest parts of your child's developing body.
Pro Tip: After adjusting the harness have your child sit in the seat and perform the pinch test. If you can pinch any fabric between your fingers the harness needs further tightening.
Remember that harness adjustment is not a one-time event. As your child grows you will need to regularly check and readjust the harness to maintain optimal protection. The next step involves performing a comprehensive safety check to ensure everything is perfectly in place.
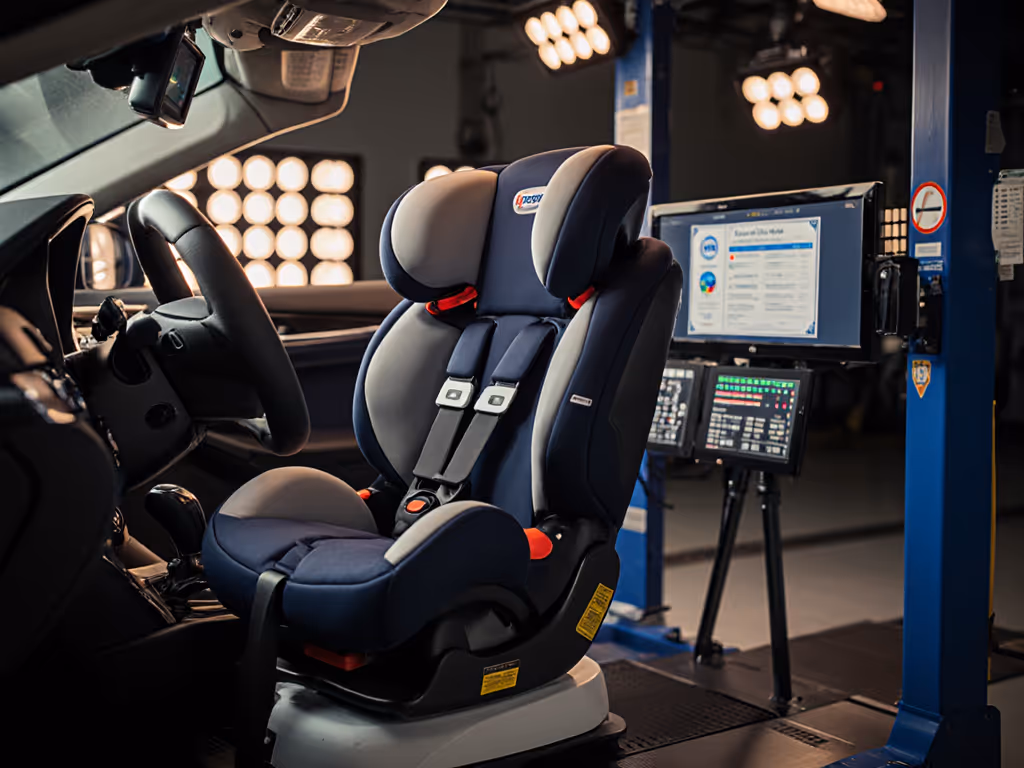
Step 5: Verify installation with a safety check and expert guidelines
You have meticulously followed every installation step and now comes the most critical moment confirming that your convertible car seat is truly safe for your child. A thorough safety verification can mean the difference between potential protection and potential risk.
Begin with the wiggle test a fundamental safety check recommended by child passenger safety experts. Grasp the car seat at the belt path and attempt to move it side to side and front to back. Your goal is minimal movement less than one inch in any direction. If the seat shifts more than this small amount you need to readjust the installation and tighten the anchors or seat belt.
Next perform a comprehensive visual and physical inspection. Check that all harness straps lie flat without twists and the chest clip remains perfectly positioned at armpit level. Verify that the seat is level using the built-in angle indicator and that no part of the seat touches the vehicle interior in a way that could compromise its stability.
While your personal inspection is crucial nothing replaces professional verification. Consider scheduling an appointment with a certified child passenger safety technician who can provide a professional assessment of your installation. These experts can identify subtle issues that might escape an untrained eye and offer personalized guidance specific to your vehicle and car seat model.
Pro Tip: Many local fire stations police departments and community safety centers offer free car seat installation checks. Take advantage of these resources to ensure maximum safety.
Remember that car seat safety is an ongoing process. Regularly check the installation especially after long trips or significant changes in temperature which can affect seat positioning. Your dedication to thorough verification is the ultimate protection for your most precious passenger.
Take the Guesswork Out of Car Seat Installation
You have learned how proper installation of a convertible car seat depends on vehicle compatibility, correct positioning, and thorough safety checks. But feeling unsure about the right angle, harness placement, or which installation method is best for your family is normal. Missteps can make even the most determined parents anxious about their child's safety. You want confidence that every buckle, anchor, and adjustment offers the protection your child needs for every ride.
Visit Fits for Years Seats to discover research-driven advice designed specifically for your car model and your child's age or size. Our expert reviews, detailed buying guides, and personalized recommendations walk you through every step, so you never have to second-guess your installation. Ensure your next ride is secured with the latest expert tips and trusted solutions. Take charge of your child's travel safety today by exploring our in-depth resources at Fits for Years Seats.
Frequently Asked Questions
How do I prepare my vehicle for installing a convertible car seat?
Before installing your convertible car seat, gather your vehicle's owner manual and the car seat's instruction guide. Inspect your seat belts and anchor points for wear and damage, ensuring a secure installation.
What is the correct angle for a rear-facing convertible car seat?
For a rear-facing installation, the car seat should be positioned between 30 to 45 degrees. Adjust the angle using built-in indicators or adjustable bases to maintain your child's airway.
How can I ensure the harness straps are correctly adjusted for my child?
Make sure the harness straps fit snugly against your child's body with no slack. Use the pinch test to check for any excess fabric; if you can pinch the straps, they need tightening.
What steps should I take to secure the car seat using the LATCH system?
Locate the lower anchor points in your vehicle and connect the car seat's LATCH connectors, ensuring they click securely into place. After installation, check for movement to confirm the seat is tight and secure with less than one inch of movement in any direction.
How do I know if my convertible car seat installation is safe?
Perform the wiggle test by grasping the car seat at the belt path and trying to move it; it should not shift more than one inch in any direction. Also, visually inspect that harness straps and the chest clip are correctly positioned and that the seat is level.
What can I do if I’m unsure about my car seat installation?
Schedule an appointment with a certified child passenger safety technician for a professional review of your installation. They can help identify any installation issues and provide tailored advice to ensure safety.
Related Articles